What Equipment, Installing PROXMOX Home Assistant Lenovo ThinkCentre From Scratch to Home Automation #1
Welcome to the From Zero to Automatic Home series. I will take you with me on the adventure of creating an automatic home from scratch based on Home Assistant. I will try to include in this series all the things I do with my new equipment. I’m doing everything again! There will be a lot of it…
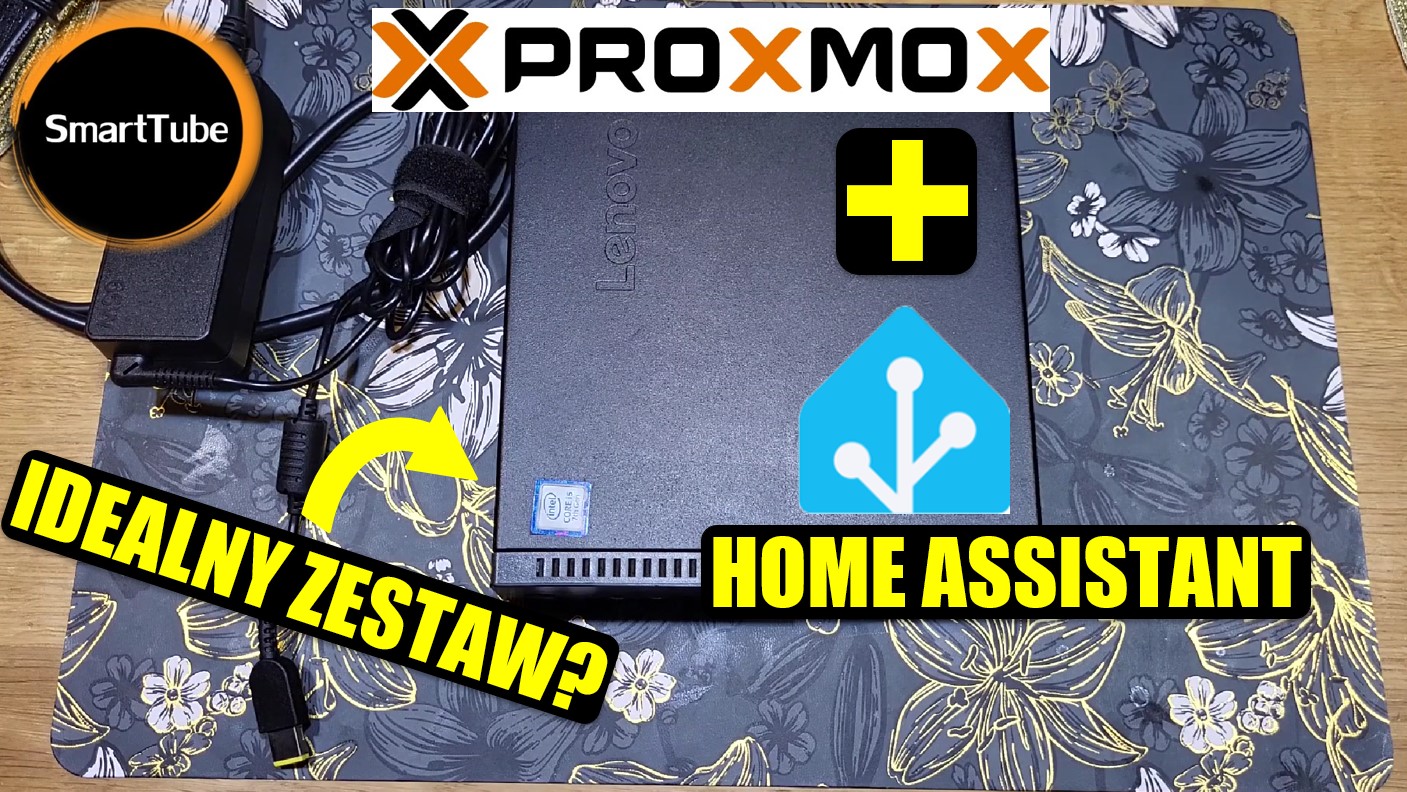
In this episode, we will choose hardware, a server for Home Assistant and install Proxmox and Home Assistant. Proxmox will allow us to upload various other things in the future, only Home Assistant itself will not work there.
Links to programs:
Proxmox: https://www.proxmox.com/en/downloads
balenaEtcher: https://etcher.balena.io/
Home Assistant (KVM (.qcow2)): https://www.home-assistant.io/installation/linux
WinSCP: https://winscp.net/eng/download.php
Command to install HA OS:
qm importdisk 100 /root/haos_ova-10.5.qcow2 local-lvm –format qcow2
Video in text form:
Welcome to an exciting new series where I’ll take you on an adventure into the world of Home Assistant! If you’ve ever dreamed of turning your house into a smart, automated home, but don’t know where to start—this guide is for you. We’ll build everything step-by-step, and yes, in Polish.
In this first episode, I’ll walk you through choosing the right hardware, setting up Proxmox, and installing Home Assistant. Let’s get started!
🖥️ Choosing the Right Hardware
For a smooth Home Assistant experience, I opted for a Lenovo ThinkCentre M710Q mini PC. It’s compact, energy-efficient, and powerful enough to handle Home Assistant along with a few additional tasks.
Here’s what I was looking for when choosing the hardware:
- Processor: Intel i5 6th generation (strong enough for most tasks).
- RAM: At least 4 GB (mine has 8 GB).
- Storage: Minimum 128 GB SSD for speed and reliability.
If you’re comparing devices, I recommend checking their performance on CPU Benchmark. It’s a useful website where you can compare processors and see how they rank.
🔧 Tip: Don’t stress about RAM or storage—these are usually easy to upgrade later. Focus on getting the best processor you can afford.
⚙️ Preparing the Mini PC
Once you have your mini PC, it’s time to prepare it for Home Assistant installation. Here’s a quick summary:
- BIOS Settings: Access the BIOS by pressing the correct key during startup (like F1 or F2—check for your model).
- Enable Power On after Power Loss (so the PC restarts automatically after a power outage).
- Turn on Hardware Virtualization (Intel VT-x) to allow virtual machines to run.
- Install Proxmox: Proxmox is a powerful virtualization platform that lets us run Home Assistant and other systems side by side.
- Download the Proxmox ISO file and use Balena Etcher to flash it onto a USB drive.
- Boot the mini PC from the USB drive.
- Follow the installation steps (choose your hard drive, set up a password, and configure the network).
💡 Remember: Installing Proxmox will erase everything on the selected hard drive, so make sure you back up any important data.
🌐 Setting Up Proxmox
After installation, you can access Proxmox using any computer on your local network:
- Open a web browser.
- Enter the Proxmox IP address (you noted it during setup) and port 8006.
- Log in with the username root and the password you created earlier.
Now you’re ready to install Home Assistant as a virtual machine on Proxmox! We’ll cover that in the next episode.
🚀 What’s Next?
This is just the beginning. In future episodes, I’ll guide you through:
- Installing Home Assistant.
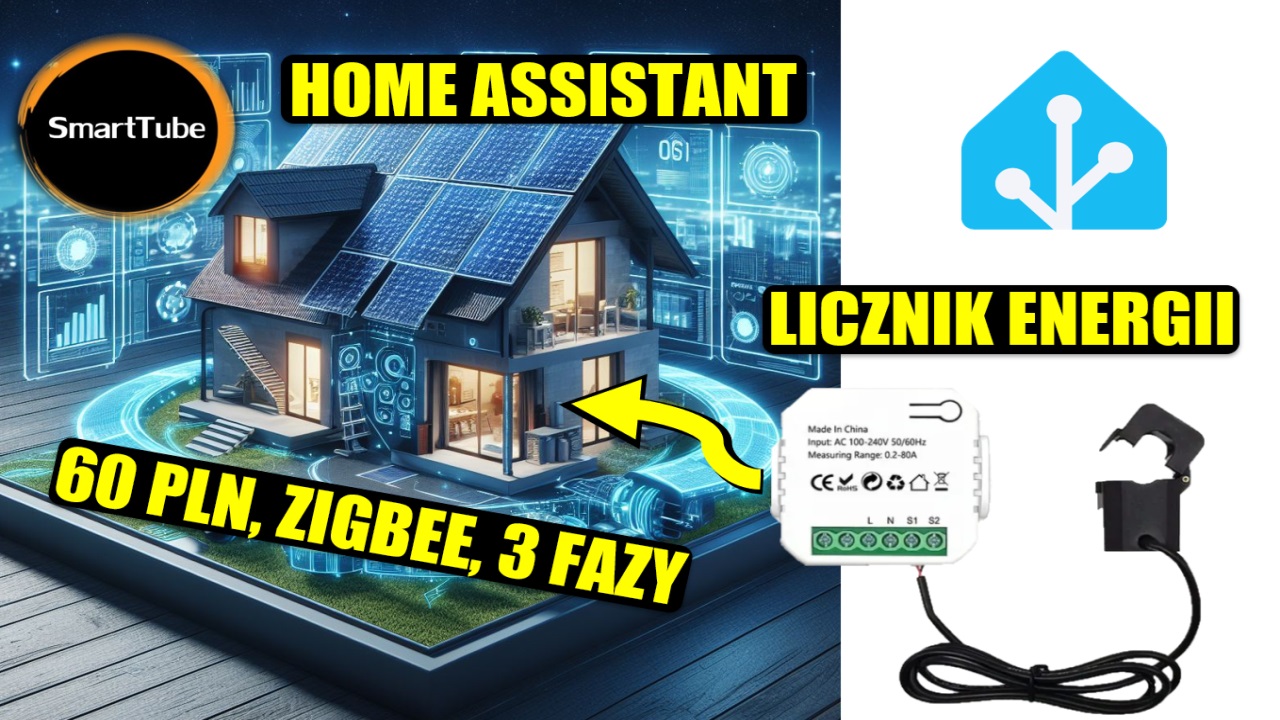
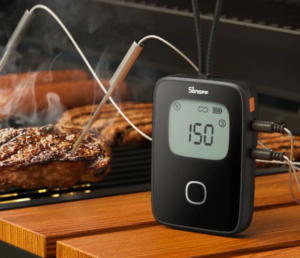
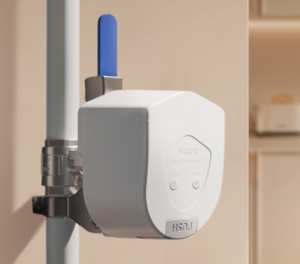
- Connecting devices like Sonoff and Shelly over Zigbee and Wi-Fi.
- Integrating with Google Assistant.
- Building stunning dashboards using Sweet Home 3D.
- Automating your entire home with scripts, scenes, and advanced controls.
🎥 Want to see all the steps in action? Watch the full video on my YouTube channel SmarTube. If you find it helpful, don’t forget to subscribe for more content and support my journey to build smarter homes!
🛒 Links: Check the video description for the equipment I used, including the Lenovo ThinkCentre and tools like Proxmox and Balena Etcher.
Let’s start this smart home adventure together!


Post Comment