Dashboard Floorplan for Home Assistant House Plan Part 2 #FromZeroToHomeAutomation #14
Welcome to the From Zero to Automated Home series. I will take you with me on an adventure of creating an automated home from scratch based on Home Assistant. I will try to put into this series all the things that I do on my new equipment. I do everything from scratch! There will be a lot of it…
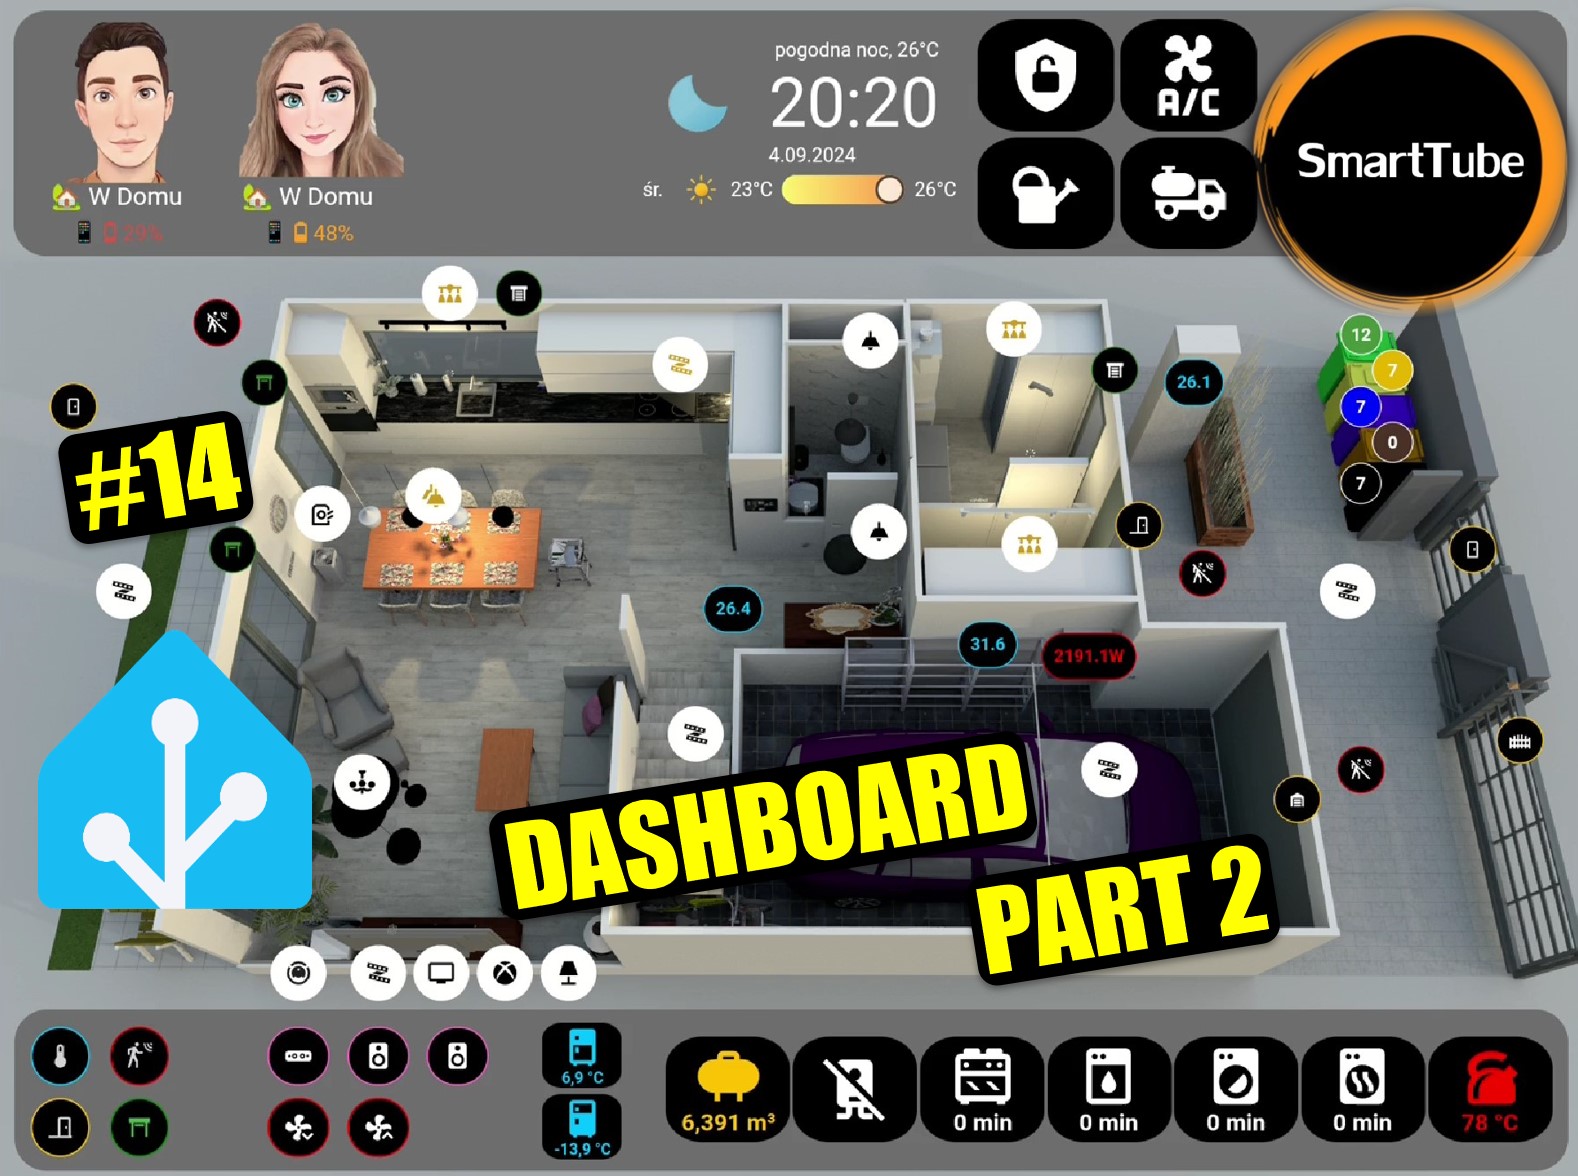
In this episode, I will show you how to create an interactive house plan in Home Assistant as a dashboard to control and monitor your home. I try to discuss each stage in detail and give many valuable tips.
Websites:
Modeling software: https://www.sweethome3d.com/
3D models: https://www.sweethome3d.com/importModels.jsp
Textures: https://www.sweethome3d.com/importTextures.jsp
Rendering tool: https://sourceforge.net/p/sweethome3d/plug-ins/33/
Graphics software: https://www.gimp.org/
Code from material:
Configuration.yaml
lovelace:
  mode: storage
  # Add yaml dashboards
  dashboards:
    lovelace-yaml:
      title: Parter
      mode: yaml
      icon: mdi:floor-plan
      show_in_sidebar: true
      filename: panel-parter.yaml
panel-parter.yaml:
title: Home Dashboard
views:
- path: home
title: " "
icon: mdi:floor-plan
panel: true
cards:
#################################### START - OBRAZKI ####################################
- type: picture-elements
image: /local/floorplan/parter-off.png
style:
filter: brightness(10%)
elements:
- entity: light.kitchen_table
state_image:
'unavailable': /local/floorplan/transparent.png
'off': /local/floorplan/transparent.png
'on': /local/floorplan/parter-stol.png
tap_action:
action: none
style:
left: 50%
top: 50%
width: 100%
mix-blend-mode: lighten
type: image
- type: image
image: /local/floorplan/parter-pasekgora.png
style:
left: 50%
top: 50%
width: 100%
- type: image
image: /local/floorplan/parter-pasekdol3.png
style:
left: 50%
top: 50%
width: 100%
#################################### END - OBRAZKI ####################################
################################ ŚWIATŁA ############################################
############# KOTŁOWNIA
- type: custom:mushroom-chips-card
style:
top: 28%
left: 64%
chips:
- type: template
entity: light.boilerroom_track
icon: mdi:vanity-light
name: Swiatla-Kotlownia
icon_color: >-
{% if is_state('light.boilerroom_track', 'on') %}
#cd9b1d
{% else %}
black
{% endif %}
############## WIATROŁAP
- type: custom:mushroom-chips-card
style:
top: 46%
left: 65%
chips:
- type: template
entity: light.windcatcher_track
icon: mdi:vanity-light
name: Swiatla-Wiatrolap
icon_color: >-
{% if is_state('light.windcatcher_track', 'on') %}
#cd9b1d
{% else %}
black
{% endif %}
############################################# ŚWIATŁO END ################################
############################################### CHIPSY TEMPERATURA ##################################
- type: custom:mushroom-chips-card
style:
top: 30%
left: 58%
transform: scale(0.8)
card_mod:
style: |
ha-card {
--chip-background: black;
--primary-text-color: #00BFFF;
}
chips:
- type: template
entity: sensor.boilerroom_t_temperature
tap_action:
action: more-info
content: "{{ states('sensor.boilerroom_t_temperature') }}"
card_mod:
style: |
ha-card {
border: 1px solid #00BFFF !important;
--chip-font-size: 14px;
justify-content: center;
}
- type: custom:mushroom-chips-card
style:
top: 43.5%
left: 57.5%
transform: scale(0.8)
card_mod:
style: |
ha-card {
--chip-background: black;
--primary-text-color: #00BFFF;
}
chips:
- type: conditional
conditions:
- entity: input_boolean.temperature
state: "on"
chip:
type: template
entity: sensor.windcatcher_t_temperature
tap_action:
action: more-info
content: "{{ states('sensor.windcatcher_t_temperature') }}"
card_mod:
style: |
ha-card {
border: 1px solid #00BFFF !important;
--chip-font-size: 14px;
justify-content: center;
}
#################################################### CZIPSY CZUJNIKI RUCHU ################################################
###### PLAKIETKA KOTLOWNIA CZUJNIK RUCHU ######
- type: custom:mushroom-chips-card
style:
top: 35%
left: 60%
transform: scale(0.8)
card_mod:
style: |
ha-card {
--chip-background: black;
}
chips:
- type: conditional
conditions:
- entity: input_boolean.motions
state: "on"
chip:
type: template
entity: binary_sensor.boilerroom_m_occupancy
tap_action:
action: more-info
icon: >
{% if is_state('binary_sensor.boilerroom_m_occupancy', 'on') %}
mdi:motion-sensor
{% else %}
mdi:motion-sensor-off
{% endif %}
icon_color: >
{% if is_state('binary_sensor.boilerroom_m_occupancy', 'on') %}
red
{% else %}
white
{% endif %}
card_mod:
style: |
ha-card {
border: 1px solid red !important;
}
###### PLAKIETKA WIATROLAP CZUJNIK RUCHU ######
- type: custom:mushroom-chips-card
style:
top: 38%
left: 64%
transform: scale(0.8)
card_mod:
style: |
ha-card {
--chip-background: black;
}
chips:
- type: conditional
conditions:
- entity: input_boolean.motions
state: "on"
chip:
type: template
entity: binary_sensor.windcatcher_m_occupancy
tap_action:
action: more-info
icon: >
{% if is_state('binary_sensor.windcatcher_m_occupancy', 'on') %}
mdi:motion-sensor
{% else %}
mdi:motion-sensor-off
{% endif %}
icon_color: >
{% if is_state('binary_sensor.windcatcher_m_occupancy', 'on') %}
red
{% else %}
white
{% endif %}
card_mod:
style: |
ha-card {
border: 1px solid red !important;
}
###### PLAKIETKA NAZEWNATRZ NAD GARAZEM CZUJNIK RUCHU ######
- type: custom:mushroom-chips-card
style:
top: 62.5%
left: 84%
transform: scale(0.8)
card_mod:
style: |
ha-card {
--chip-background: black;
}
chips:
- type: template
entity: binary_sensor.frontyard_m_garage_occupancy
tap_action:
action: more-info
icon: >
{% if is_state('binary_sensor.frontyard_m_garage_occupancy', 'on') %}
mdi:motion-sensor
{% else %}
mdi:motion-sensor-off
{% endif %}
icon_color: >
{% if is_state('binary_sensor.frontyard_m_garage_occupancy', 'on') %}
red
{% else %}
white
{% endif %}
card_mod:
style: |
ha-card {
border: 1px solid red !important;
}
#################################################### CZIPSY ROLETY ################################################
###### PLAKIETKA ROLETA KUCHNIA OKNO ######
- type: custom:mushroom-chips-card
style:
top: 22.5%
left: 31%
transform: scale(0.8)
card_mod:
style: |
ha-card {
--chip-background: black;
}
chips:
- type: conditional
conditions:
- entity: input_boolean.shutters
state: "on"
chip:
type: template
entity: cover.kitchen_window
tap_action:
action: more-info
icon: >
{% if is_state('cover.kitchen_window', 'open') %}
mdi:window-shutter-open
{% else %}
mdi:window-shutter
{% endif %}
icon_color: >
{% if is_state('cover.kitchen_window', 'open') %}
#3b8132
{% else %}
white
{% endif %}
card_mod:
style: |
ha-card {
border: 1px solid #3b8132 !important;
}
#################################################### CZIPSY KONTAKTRONY ################################################
###### PLAKIETKA NAZEWNATRZ KONTAKTRON BRAMA ######
- type: custom:mushroom-chips-card
style:
top: 60%
left: 94%
transform: scale(0.8)
card_mod:
style: |
ha-card {
--chip-background: black;
}
chips:
- type: template
entity: binary_sensor.frontyard_c_gate_contact
tap_action:
action: more-info
hold_action:
action: call-service
service: switch.turn_on
service_data:
entity_id: switch.frontyard_entry_gate
icon: >
{% if is_state('binary_sensor.frontyard_c_gate_contact', 'on') %}
mdi:gate-open
{% else %}
mdi:gate
{% endif %}
icon_color: >
{% if is_state('binary_sensor.frontyard_c_gate_contact', 'on') %}
#FFBF00
{% else %}
white
{% endif %}
card_mod:
style: |
ha-card {
border: 1px solid #FFBF00 !important;
}
###### PLAKIETKA KUCHNIA KONTAKTRON DRZWI ######
- type: custom:mushroom-chips-card
style:
top: 35%
left: 14%
transform: scale(0.8)
card_mod:
style: |
ha-card {
--chip-background: black;
}
chips:
- type: conditional
conditions:
- entity: input_boolean.doors
state: "on"
chip:
type: template
entity: binary_sensor.kitchen_c_door_contact
tap_action:
action: more-info
icon: >
{% if is_state('binary_sensor.kitchen_c_door_contact', 'on') %}
mdi:window-open
{% else %}
mdi:window-closed
{% endif %}
icon_color: >
{% if is_state('binary_sensor.kitchen_c_door_contact', 'on') %}
#FFBF00
{% else %}
white
{% endif %}
card_mod:
style: |
ha-card {
border: 1px solid #FFBF00 !important;
}
#################################################### PASEK DÓŁ ################################################
###### ON OFF TEMPERATURA ######
- type: custom:mushroom-chips-card
style:
top: 89%
left: 4%
card_mod:
style: |
ha-card {
--chip-background: black;
}
chips:
- type: template
entity: input_boolean.temperature
icon: mdi:thermometer
name: Termometry
icon_color: >-
{% if is_state('input_boolean.temperature', 'on') %}
#00BFFF
{% else %}
#D3D3D3
{% endif %}
card_mod:
style: |
ha-card {
border: 1px solid #00BFFF !important;
}
###### ON OFF CZUJNIK RUCHU ######
- type: custom:mushroom-chips-card
style:
top: 89%
left: 9%
card_mod:
style: |
ha-card {
--chip-background: black;
}
chips:
- type: template
entity: input_boolean.motions
icon: mdi:motion-sensor
name: CzujnikiRuchu
icon_color: >-
{% if is_state('input_boolean.motions', 'on') %}
red
{% else %}
#D3D3D3
{% endif %}
card_mod:
style: |
ha-card {
border: 1px solid red !important;
}
###### ON OFF ROLETY ######
- type: custom:mushroom-chips-card
style:
top: 95%
left: 9%
card_mod:
style: |
ha-card {
--chip-background: black;
}
chips:
- type: template
entity: input_boolean.shutters
icon: mdi:window-shutter-open
name: Rolety
icon_color: >-
{% if is_state('input_boolean.shutters', 'on') %}
green
{% else %}
#D3D3D3
{% endif %}
card_mod:
style: |
ha-card {
border: 1px solid green !important;
}
###### ON OFF DRZWI ######
- type: custom:mushroom-chips-card
style:
top: 95%
left: 4%
card_mod:
style: |
ha-card {
--chip-background: black;
}
chips:
- type: template
entity: input_boolean.doors
icon: mdi:door-closed
name: DrzwiBramy
icon_color: >-
{% if is_state('input_boolean.doors', 'on') %}
#FFBF00
{% else %}
#D3D3D3
{% endif %}
card_mod:
style: |
ha-card {
border: 1px solid #FFBF00 !important;
}
Welcome back to the second part of our guide on building a visually appealing and functional Home Assistant dashboard using a floor plan! In the previous installment, we covered the basics of creating a floor plan in Sweet Home 3D. Now, we’ll delve into the exciting part: adding interactive elements that bring your dashboard to life. This article accompanies a video tutorial [link to your video here], which we highly recommend watching for a complete understanding of the process.
This tutorial focuses on using Mushroom Cards to create a dynamic and user-friendly interface. We’ll walk you through adding interactive controls for lights, sensors (motion, opening/contact), blinds, and more, all integrated directly into your floor plan.
Setting Up Your Dashboard and Preparing Assets
We begin by creating a new dashboard within Home Assistant and configuring it for easier code editing. Using a file editor is crucial for managing the dashboard’s code efficiently. We provide the necessary code snippets, including file names and icons, in the video description. Remember to use a code editor that handles indentation correctly, such as VS Code or Notepad++.
A key step involves preparing your floor plan image and other visual assets. We’ll show you how to create a “www” folder within your Home Assistant configuration directory. This folder acts as the local storage for all your dashboard’s images and resources.
Adding Interactive Elements with Mushroom Cards
The core of this tutorial revolves around using Mushroom Cards to add interactive elements to your floor plan. We’ll demonstrate how to add interactive controls for various smart home devices:
- Interactive Lights: We’ll show you how to create dynamic lighting effects on your floor plan. This involves creating separate image renders for when the light is on, off, and unavailable. We’ll provide the code and explain the importance of correct file paths. We also cover using GIMP, a free image editing program, to create transparent PNG images necessary for the on/off light effect.
- Top and Bottom Bars: We’ll guide you through adding top and bottom bars to your dashboard using GIMP. These bars provide space for additional information and controls, enhancing the dashboard’s functionality.
Working with Interactive “Chips”
We’ll then move on to adding interactive “chips” that display information and allow control of various devices. We’ll cover adding chips for:
- Temperature Sensors: Display temperature readings directly on your floor plan and provide access to historical data graphs.
- Motion Sensors: Change the appearance of the chips (icons and colors) based on motion detection status.
- Blinds and Contact Sensors: Display their status (open/closed) using different icons and colors.
A crucial aspect of this tutorial is using conditional code to show or hide chips based on the state of a helper entity (input_boolean). This allows for a clean and uncluttered dashboard, displaying only relevant information at any given time. We’ll explain how to create these helper entities and use them to control chip visibility. We also show how to apply conditional styling to change the appearance of chips based on their state.
Expanding Your Dashboard and Final Touches
We’ll briefly discuss adding other elements, such as:
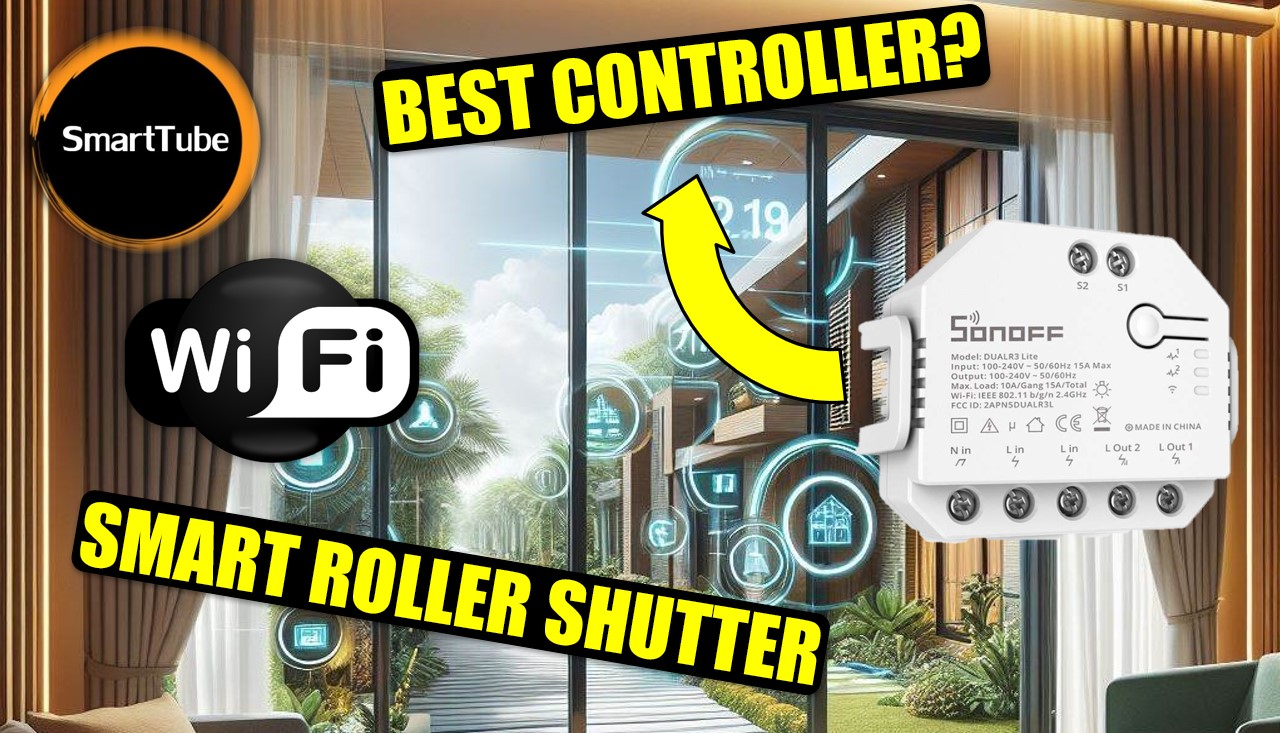
- Opening Sensors (Reed Switches) and Blinds: The implementation is similar to motion sensors, and the code will be shared.
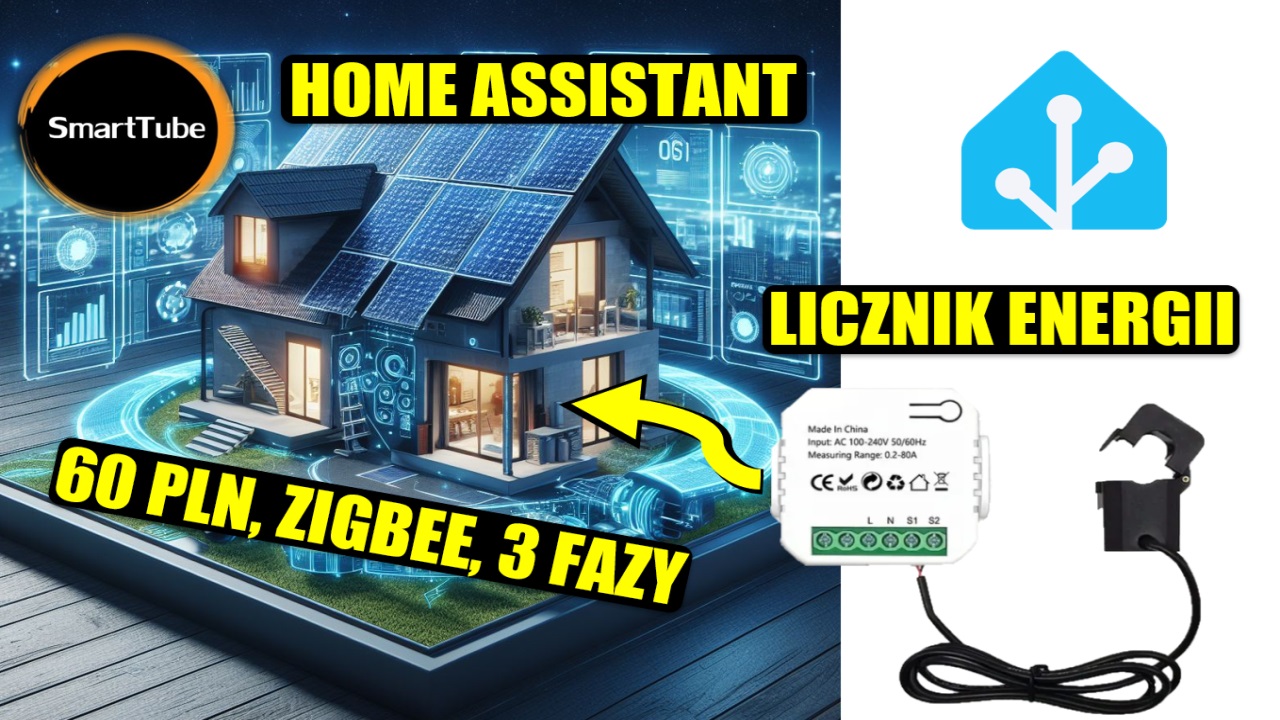
- Other Devices: We touch upon adding other smart home devices like power consumption monitors, purifiers, vacuum cleaners, TVs, and Xboxes. While we won’t demonstrate each one individually, the principles are similar to the lights, and the code will be available.
- Garbage Collection Tracking: We’ll briefly mention using a calendar integration and custom chips to track garbage collection days. This will be covered in detail in the next part of the tutorial.
We also address potential visual discrepancies between the dashboard’s appearance on a computer screen and a tablet, ensuring it looks perfect on your target device.
Code Availability and Conclusion
All the code used in this tutorial will be made available for you to copy and adapt for your own Home Assistant setups. We encourage you to watch the accompanying video [link to your video here] for a complete walkthrough of the process.
We hope this tutorial has helped you create a more interactive and informative Home Assistant dashboard. If you have any questions, please leave a comment below. Stay tuned for the final part of this series, where we’ll cover garbage collection tracking and other advanced customization options.
Thank you for following along!


Post Comment