Creating Views, Energy Dashboard, Xiaomi Devices. From Zero to Home Automation #4
Welcome to the From Zero to Automatic Home series. I will take you with me on the adventure of creating an automatic home from scratch based on Home Assistant. I will try to include in this series all the things I do with my new equipment. I’m doing everything again! There will be a lot of it…
In this episode, we create views for smartphones, an energy dashboard with water consumption, and at the end we will start adding Xiaomi devices. Between the lines there are a lot of my comments and practical advice.
Video in text form:
Welcome to the fourth episode of the series “From Zero to an Automatic Home.” In this episode, we will:
- Create our first fork for rooms and add all devices already present in Home Assistant.
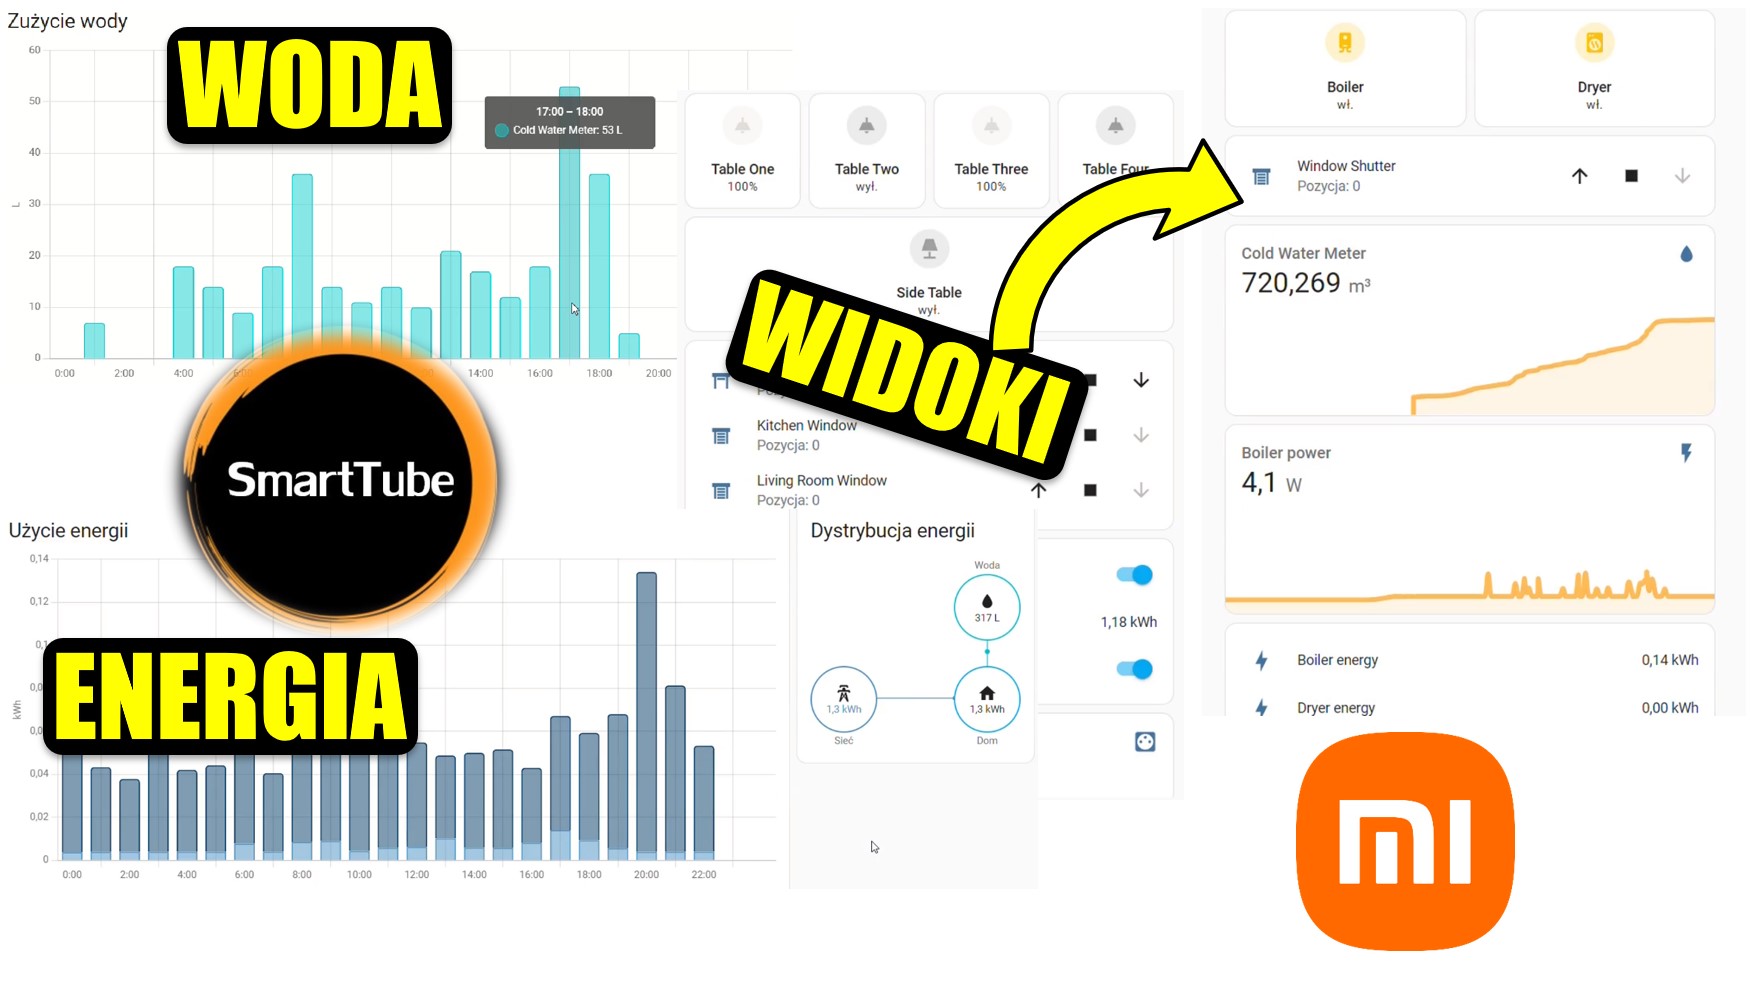
- Move to the Energy Dashboard and add power consumption for a few devices, along with water consumption, calculating the costs for both.
We’ll begin dealing with Xiaomi devices.
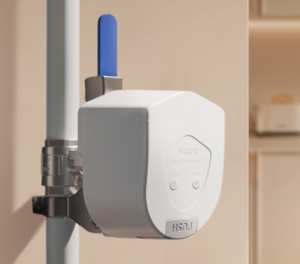
Not all devices will be placed in Home Assistant. We’ll start with the Gateway purifier and other smaller sections. This section is a bit less crowded than others.
There’s a lot of progress, and Smart Tube invites you and consider a subscription.
Now, let’s go to Review and Create Views.
Click on the three dots to edit Dashboard. Here, you’ll see a plus sign to add a new view. There are different options to choose from. We will use the tile view type, without opening the side panel, as it’s not meant to be a tab. This means we won’t have the chance to create multiple cards—only one card.
I’ve never experienced this before, and I guess it’s unfortunate. I don’t know what it is, but we’ll deal with it soon.
No title is required here; just add the icon. Start with the kitchen. You can type “Putty” or choose another name. This will include two rooms: the kitchen and the living room, which might have a sofa.
The icon lets you add everything from a given room. You can include things through various cards, already viewing what’s available. For example, I know I have:
- Lights: For lights, I used a horizontal layout and other options.
- A Media Tile and possibly entities.
For my view, I usually don’t access Home Assistant on my computer, only through mobile devices. If I showed you, you’d see:
- A living room in a single vertical card.
- Horizontal layouts within other sections. Sometimes, I have four or two things, depending on space constraints. Sometimes, it’s just a single item, like a TV, purifier, or speaker. This layout is something I love.
Let’s move to a vertical stack, create a horizontal arrangement, and start with lights, using tiles like before.
We add a new view and place it vertically. Then we copy it and label it. We have the first thing added to Home Assistant.
We still have Kitchen devices to include, such as:
- Blinds (up and down).
- Other kitchen entities.
I added three blinds, and we’ll continue adding sections. In this section, we can include:
- Data for the fridge, which shows energy consumption.
- Other appliances connected to energy sources.
We won’t include unnecessary costs for now, but we can add consumption data for devices such as:
- The dryer
- The boiler
- Various kitchen appliances.
Energy Dashboard integration lets us monitor everything, adding devices individually and in groups. We have:
- A Group of sensors for energy consumption.
- Integration with the cloud servers, both for Poland and China.
Finally, we’re configuring everything step by step:
- Updating device settings
- Naming sections according to the house layout (e.g., Ground Floor Gateway).
- Including motion sensors, TV connections, speakers, and other devices.
We’ll organize everything neatly to improve visual elements in Home Assistant. The energy dashboard is just a start, and everything will improve with better integration and future purchases.
Stay tuned as I configure the remaining sections and connect everything seamlessly!https://s.click.aliexpress.com/e/_DlPhfdV


Post Comment