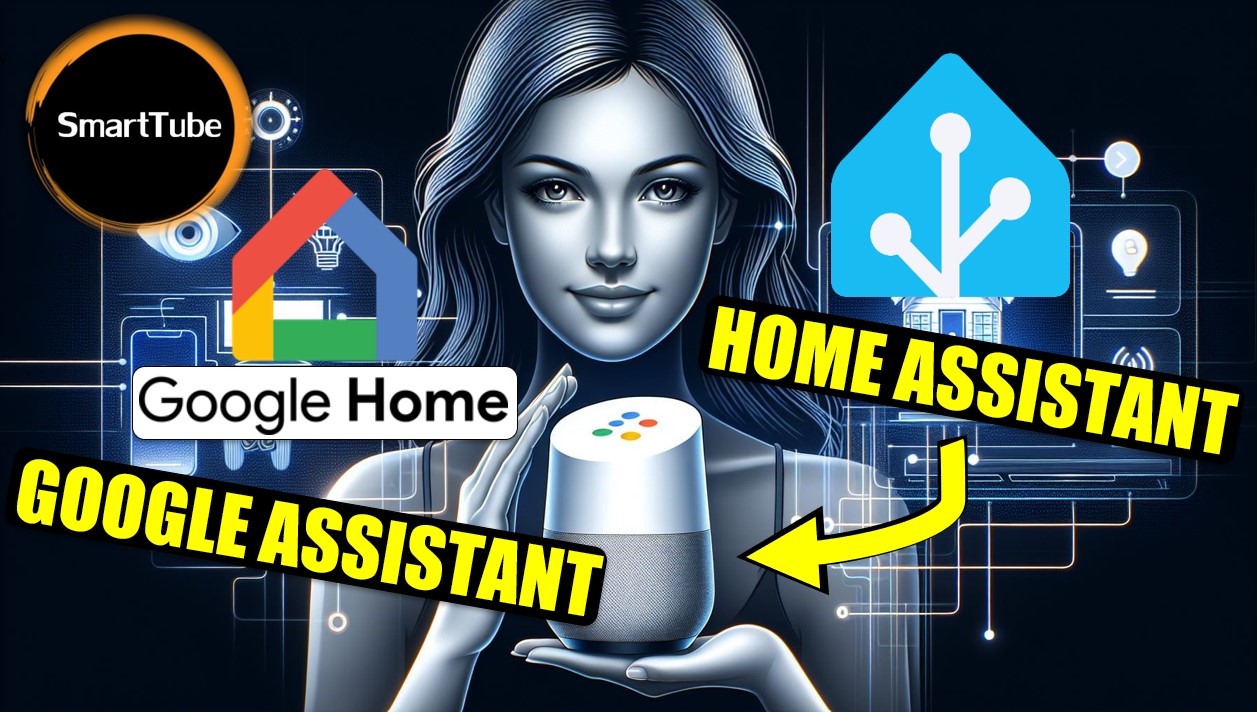
Devices with Home Assistant in Google Home and Google Assistant #FromZeroToAutomaticHome #12
Welcome to the From Zero to Automatic Home series. I will take you with me on the adventure of creating an automatic home from scratch based on Home Assistant. I will try to include in this series all the things I do with my new equipment. I’m doing everything again! There will be a lot of it…
In this episode, I will show you how to add Home Assistant, including devices and scripts from HA, to Google Home. This will give us the ability to control them via the Google Assistant. The thumbnail for the film was created with Dall-E.
First page:
https://console.actions.google.com/u/0/
https://[YOUR HOME ASSISTANT DOMAIN]/api/google_assistant
https://oauth-redirect.googleusercontent.com/r/[YOUR_PROJECT_ID]
https://[YOUR HOME ASSISTANT URL:PORT]/auth/authorize
https://[YOUR HOME ASSISTANT URL:PORT]/auth/token
Second page:
https://console.cloud.google.com/
Code for configuration.yaml:
google_assistant:
  project_id: YOUR_PROJECT_ID
  service_account: !include SERVICE_ACCOUNT.json
  report_state: true
Video in the text form:
Introduction to Home Assistant and Google Home Integration 🏠🤖
In this guide, I will show you how to integrate devices from Home Assistant with Google Home, enabling voice control for devices that are not natively compatible with Google using Google Assistant. The entire process consists of several key steps, such as configuring remote access, creating a project in Google Cloud, and linking Home Assistant with Google Home.
Step 1: Configuring Remote Access with SSL Certificate 🔒🌐
The first step is ensuring remote access to Home Assistant, secured by an SSL certificate. If you haven’t done this yet, I recommend watching my previous video where I explain it in detail. Once remote access is ready, you can move on to the next steps of integration.
Step 2: Creating a Project in Google Cloud Console ☁️💡
- Go to Google Cloud Actions Console and create a new project.
- Choose the “Smart Home” template and, in the Quick Setup section, enter your external Home Assistant URL.
Note: The URL must end with/api/google_assistant. - Save the settings and note down the project ID, as it will be needed in later steps.
Step 3: Configuring Account Linking 🔗👤
- In Google Actions Console, go to “Account Linking” settings.
- Provide the required authorization and token URLs. Use your external domain address for both URLs.
- Ensure that you have added appropriate scopes, such as email and name.
- Save the settings and proceed to the next step.
Step 4: Creating a Service Account in Google Cloud 🔧🔐
- Go to Google Cloud Console and select your project.
- Create a new Service Account and assign it the “Service Account Token Creator” role.
- Generate a JSON key file for this account, name it
service_account.json, and upload it to the Home Assistant configuration folder.
Step 5: Enabling the Home Graph API 📡🔓
In Google Cloud Console, enable the Home Graph API for your project. This step is crucial for Home Assistant to communicate with Google Home.
Step 6: Configuring Home Assistant 🛠️📋
- Edit the
configuration.yamlfile in Home Assistant to add Google Assistant integration. - Provide the project ID and the path to the service account file.
- Save the changes and restart Home Assistant.
Step 7: Synchronizing Devices with Google Home 🔄📲
- After restarting Home Assistant, open the Google Home app on your smartphone.
- In the app settings, search for the name of the project you created and link your Home Assistant account.
- Once the connection is successful, the devices should appear in Google Home.
Tips and Troubleshooting 💡🛠️
- If the devices don’t appear immediately, try synchronizing them manually using the Google Home app.
- Avoid naming conflicts by ensuring unique device names in both Home Assistant and Google Home.
- Use groups or scripts in Home Assistant to control multiple devices with a single command.
Practical Use Cases 🚀💡
In the video, I show how to create routines in Google Home that control scenes or light groups configured in Home Assistant. For example, you can automate bathroom lighting based on specific conditions, such as opening or closing blinds. Thanks to this integration, controlling smart devices becomes seamless and possible via voice commands.
I hope this guide was helpful. If you have questions or encounter issues, leave a comment. Don’t forget to subscribe to my channel to stay up-to-date with more smart home guides! 😃📝🛠️💡


Post Comment