Dashboard for Home Assistant House Plan Floorplan SweetHome 3D Part 1 #FromZeroToHomeAutomation #13
Welcome to the From Scratch to Automated Home series. I will take you with me on an adventure of creating an automated home from scratch based on Home Assistant. I will try to put into this series all the things that I do on my new equipment. I do everything from scratch! There will be a lot of it…
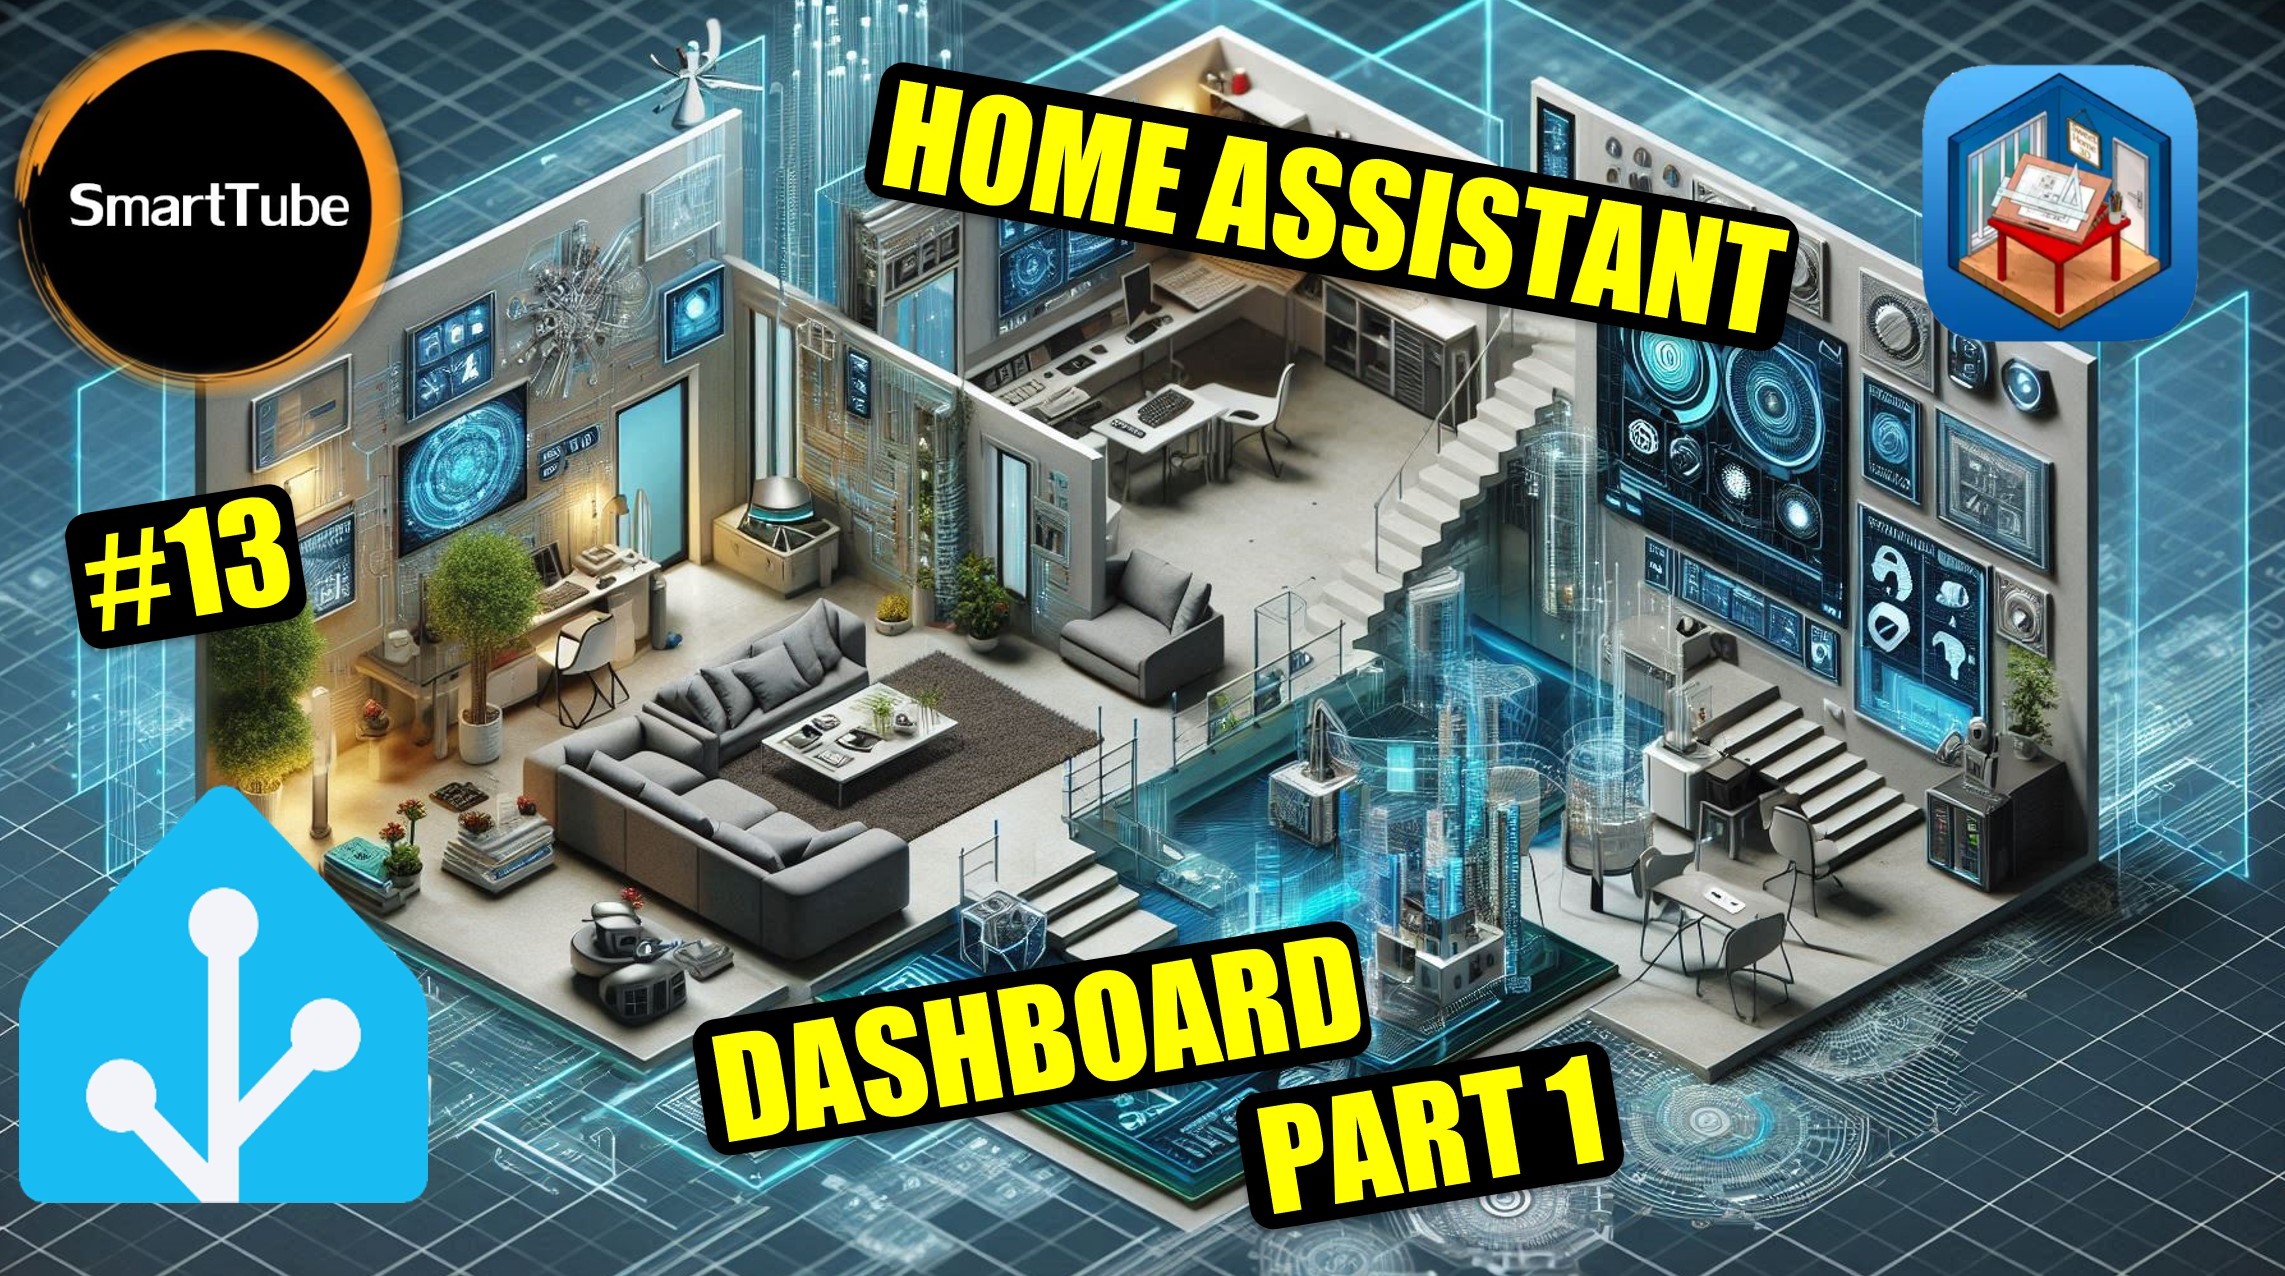
In this episode I will show you how to create a house plan in SweetHome 3D from scratch to what you see in the intro to the film, so that in the next part you can use it in Home Assistant as a dashboard to control and monitor your home. I try to discuss each stage in detail and give many valuable tips. The thumbnail for the film was created using Dall-E.
Pages:
Program: https://www.sweethome3d.com/
3D Models: https://www.sweethome3d.com/importModels.jsp
Textures: https://www.sweethome3d.com/importTextures.jsp
Rendering Tool: https://sourceforge.net/p/sweethome3d/plug-ins/33/
Welcome to Episode 13 of the Series: From Zero to Automated Home
In today’s episode, we will walk through creating an interactive home map that integrates with Home Assistant. This guide will help you visualize and control your home more effectively. Let’s dive right in!
Step 1: Download the Necessary Software and Models
The key tool you’ll need is Sweet Home 3D, which allows you to create detailed floor plans. Download the Windows version of the software and install it. Additionally, download 3D models and textures from the Sweet Home website to import into the software. All download links will be in the video description.
Step 2: Installing Sweet Home 3D and Plugin Setup
Install Sweet Home 3D and launch it. Then, install the Automate Lights Rendering plugin (found under the Tools tab). This will allow you to quickly render multiple images of your house with different lights turned on.
Step 3: Importing Models and Textures
Now that the software is set up, import the 3D models and textures you downloaded. Just drag the files into Sweet Home 3D. You can also import any new models from websites like SketchUp Warehouse.
Step 4: Importing Your Floor Plan
Import an image of your house’s floor plan into Sweet Home 3D. Set a reference scale (e.g., a 2m section) so the software knows how to size the floor plan correctly.
Step 5: Creating Walls and Rooms
Use the Wall Tool to create walls by clicking and dragging. Complete each wall segment where it meets another wall for easier editing. Once your walls are in place, use the Room Tool to define rooms like the kitchen, living room, or garage.
Step 6: Adding Windows, Doors, and Furniture
Import models for doors and windows (either from Sweet Home’s library or external websites like SketchUp). Resize them to fit your layout, and place them into the walls. For furniture, browse websites like SketchUp Warehouse to find models that match your home’s style.
Step 7: Adjusting the Lighting and Orientation
Add a compass to your floor plan to set the correct orientation. This will help when rendering images, as the sunlight intensity and direction will vary depending on the time of day and house orientation.
Step 8: Rendering Your 3D Images
Once your floor plan and furniture are set up, you can render 3D images of your home. Adjust the photo’s resolution and settings for the best quality. Sweet Home 3D allows you to test different lighting setups and see how they affect your renders.
Step 9: Floorplan elements
First, we start by adjusting some elements in the floorplan. You can easily change the color of individual items, like the pillows or furniture, just by selecting them. If the default color doesn’t suit you, you can search for textures online and apply them to the elements. 🎨
For instance, I initially had a piece of furniture in a black color, but I decided to change it to anthracite gray. And just like that, the color updates instantly! I’m trying to make the whole look more appealing and realistic, so I’m playing around with different shades. 😊
Once you’ve set the color for one item, you can apply it to other similar pieces, like matching the armchair and the sofa. It’s about fine-tuning until it looks just right. Adding furniture can be quite time-consuming, but if you want it to be as close to real life as possible, it’s totally worth the effort. 🛋️
Sweet Home 3D has a great selection of items, and you can also find other furniture online. I usually get mine from the Freedy Warehouse, where searching is quick and easy. This is way more convenient than hunting through Sweet Home’s library. ⌨️
One of the cool features of Sweet Home 3D is the ability to divide the floors into rooms. This makes it easier to adjust the floor texture, and also, you can change the wall heights. 🏠 If you want to make the wall lower or create a visible projection, it’s simple to do. I even added some stairs and played around with the layout, making it all fit my vision. 🪜
As for the walls, I kept most of them white, but you can also experiment with different textures. I tried using tiles in the bathroom, and they look great with some lamps placed around. 💡
When it comes to furniture positioning, there’s a useful feature that lets you adjust the height of items. For example, I moved a countertop to the right position and added a locker below it. You can also change the size of the furniture and maintain the proportions to make sure everything fits. 📐
Now, something to keep in mind: when you’re downloading models, it’s important to choose lightweight items that won’t slow down your computer. If you download high-res models, your rendering might take longer, and it can cause issues with Sweet Home 3D’s performance. So, always go for models that are small in size! ⚖️
Once all your furniture and models are in place, you’re ready to move on to rendering! I always go to the 3D view and check how everything looks before finalizing it. You can adjust the settings, like light power and position, to see how the scene will turn out. And don’t forget to save your view settings so the renders will always be consistent! 🖼️
Lastly, I’ll show you how to add light sources for rendering. You can set the power and height of each light, so they shine just the way you want. Once you’re satisfied with the lighting, you can automate the rendering process, and Sweet Home 3D will do the rest. 💡✨
When your render is ready, you’ll see how the lighting affects the space. You can even make sure all your lights are reflected in your Home Assistant setup. And that’s it – your floorplan will look fantastic and be ready for integration with your Home Assistant dashboard! 🎉







Post Comment