Setting up a Zigbee network Zigbee2Mqtt Home Assistant – what you need to know #FromZeroToAutomtedHome #6
Welcome to the From Zero to Automatic Home series. I will take you with me on the adventure of creating an automatic home from scratch based on Home Assistant. I will try to include in this series all the things I do with my new equipment. I’m doing everything again! There will be a lot of it…
In this episode I will discuss adding mosquitto broker, zigbee2mqtt, how to create a decent zigbee network, what to buy and how to set it up. Between the lines there are a lot of my comments and practical advice.
Link to paste into addons to add zigbee2mqtt:
https://github.com/zigbee2mqtt/hassio-zigbee2mqtt
Page about the zigbee2mqtt add-on:
https://github.com/zigbee2mqtt/hassio-zigbee2mqtt#installation
Affiliate link:
Sonoff dongle:
Aliexpress: https://s.click.aliexpress.com/e/_DEy9get
Welcome to the sixth part of ‘From Zero to Automatic Home’!
Today, we’ll cover more integrations. We’ll dive into MQTT and Zigbee networking. We’ll go step by step — from purchasing the right equipment to setting everything up correctly from scratch.
1. Installing MQTT (Mosquitto Broker)
- Navigate to Integrations
Go to Home Assistant Settings > Integrations. You may already have MQTT installed, but this is an MQTT integration added through an add-on. - Install Mosquitto Broker
- Go to Add-ons.
- Search for “Mosquitto Broker” in the Add-ons store and install it.
- Once installed, do not launch it immediately.
- Open the configuration panel.
- Enter login credentials and follow the instructions for the private key, custom CA, and SSL options.
- Make sure to click Save whenever you make any changes.
2. Adding ZB MQTT
- Go back to Settings > Add-ons.
- We’ll need to add ZB MQTT.
- Go to the Repositories tab, add the repository link (I’ll include it in the description).
- Once added, go to the Add-ons store and search for ZB MQTT.
- Install the ZB MQTT add-on.
3. Configuration and USB Dongle Setup
- Configure the Serial Port
- You’ll need to connect your Zigbee coordinator device (like the Sonoff ZB Dongle Plus) to your system — Raspberry Pi, Proxmox, or another device.
- Make sure your coordinator device is placed in a central location.
- Use an extension cord (3 meters or longer) to position the coordinator properly.
- Proxmox Integration (For Proxmox Users)
- In Proxmox, add a new USB device.
- Go to Proxmox Dashboard > Hardware > USB Device.
- Add your connected USB device — you should see it identified as Sonoff Zigbee 3.0 USB Dongle Plus.
- Back in Home Assistant
- In ZB MQTT Configuration, paste the identifier path of your USB device.
- Save your changes.
4. Running MQTT and ZB MQTT Add-ons
- Go to Add-ons:
- Run Mosquitto Broker.
- Start ZB MQTT as well.
- Now everything is set up to add Zigbee devices.
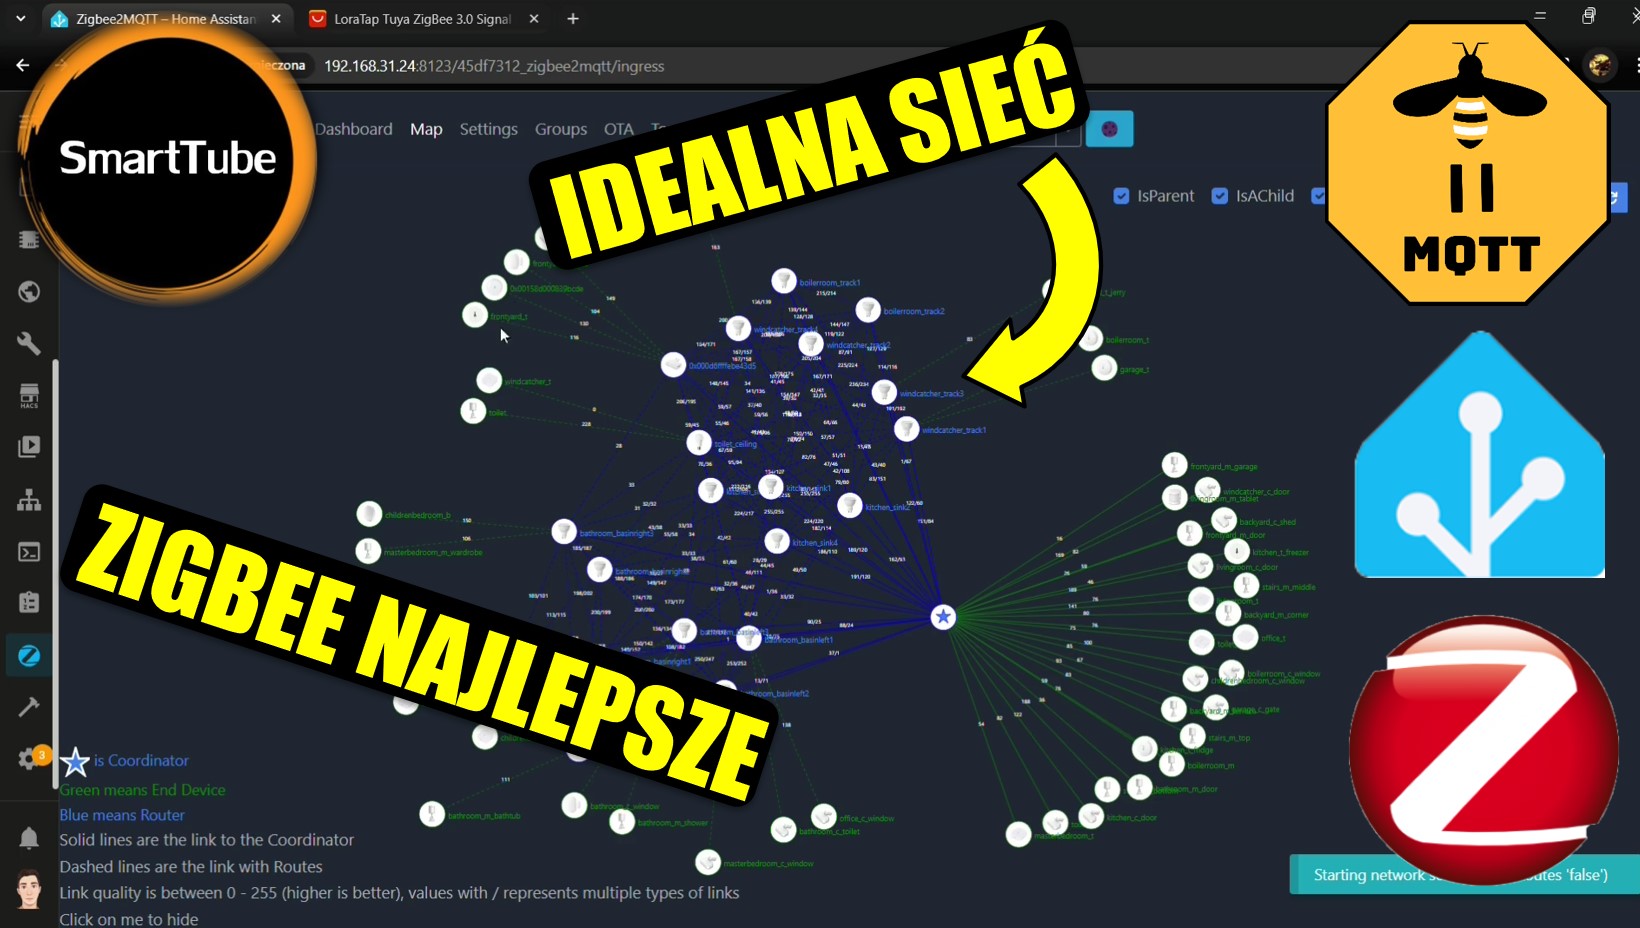
5. Adding Zigbee Devices to the Network
- Use the “Permit Join” option to allow devices to connect to your Zigbee coordinator.
- Pair devices according to their type:
- Routers (powered devices): Act as intermediaries and transmit data.
- End Devices (battery-powered): Connect to nearby routers or coordinators.
- Placement Strategy:
- Place powered devices closest to the coordinator or routers.
- Battery-powered sensors should connect to routers to optimize communication and reception.
6. Zigbee Channels and Wi-Fi Interference
- Set Wi-Fi and Zigbee channels to be as far apart as possible to avoid interference.
- Common Wi-Fi channels: 1, 6.
- Recommended Zigbee channel: 23 (as it avoids overlap with Wi-Fi channels).
- Go to your Wi-Fi Router Settings (e.g., 192.168.1.1) and set Wi-Fi channels.
- In Home Assistant > Zigbee Configuration, select channel 23.
7. Zigbee Repeaters
- Use USB Zigbee repeaters or smart plugs and bulbs (like IKEA devices) to extend your network’s range.
- These repeaters act as signal boosters, ensuring better communication between devices and the coordinator.
Final Thoughts
- Device Types to Add:
- Temperature and Motion Sensors
- Door and Window Contact Sensors
- Smart Plugs and Light Bulbs
- The goal is to have a robust Zigbee network where routers transmit data efficiently and battery-powered end devices connect to the nearest available router.
If you have questions or run into any issues, drop a comment.
Don’t forget to subscribe to keep following the journey of ‘From Zero to Automatic Home.’
Thanks for watching, and see you next time!


Post Comment