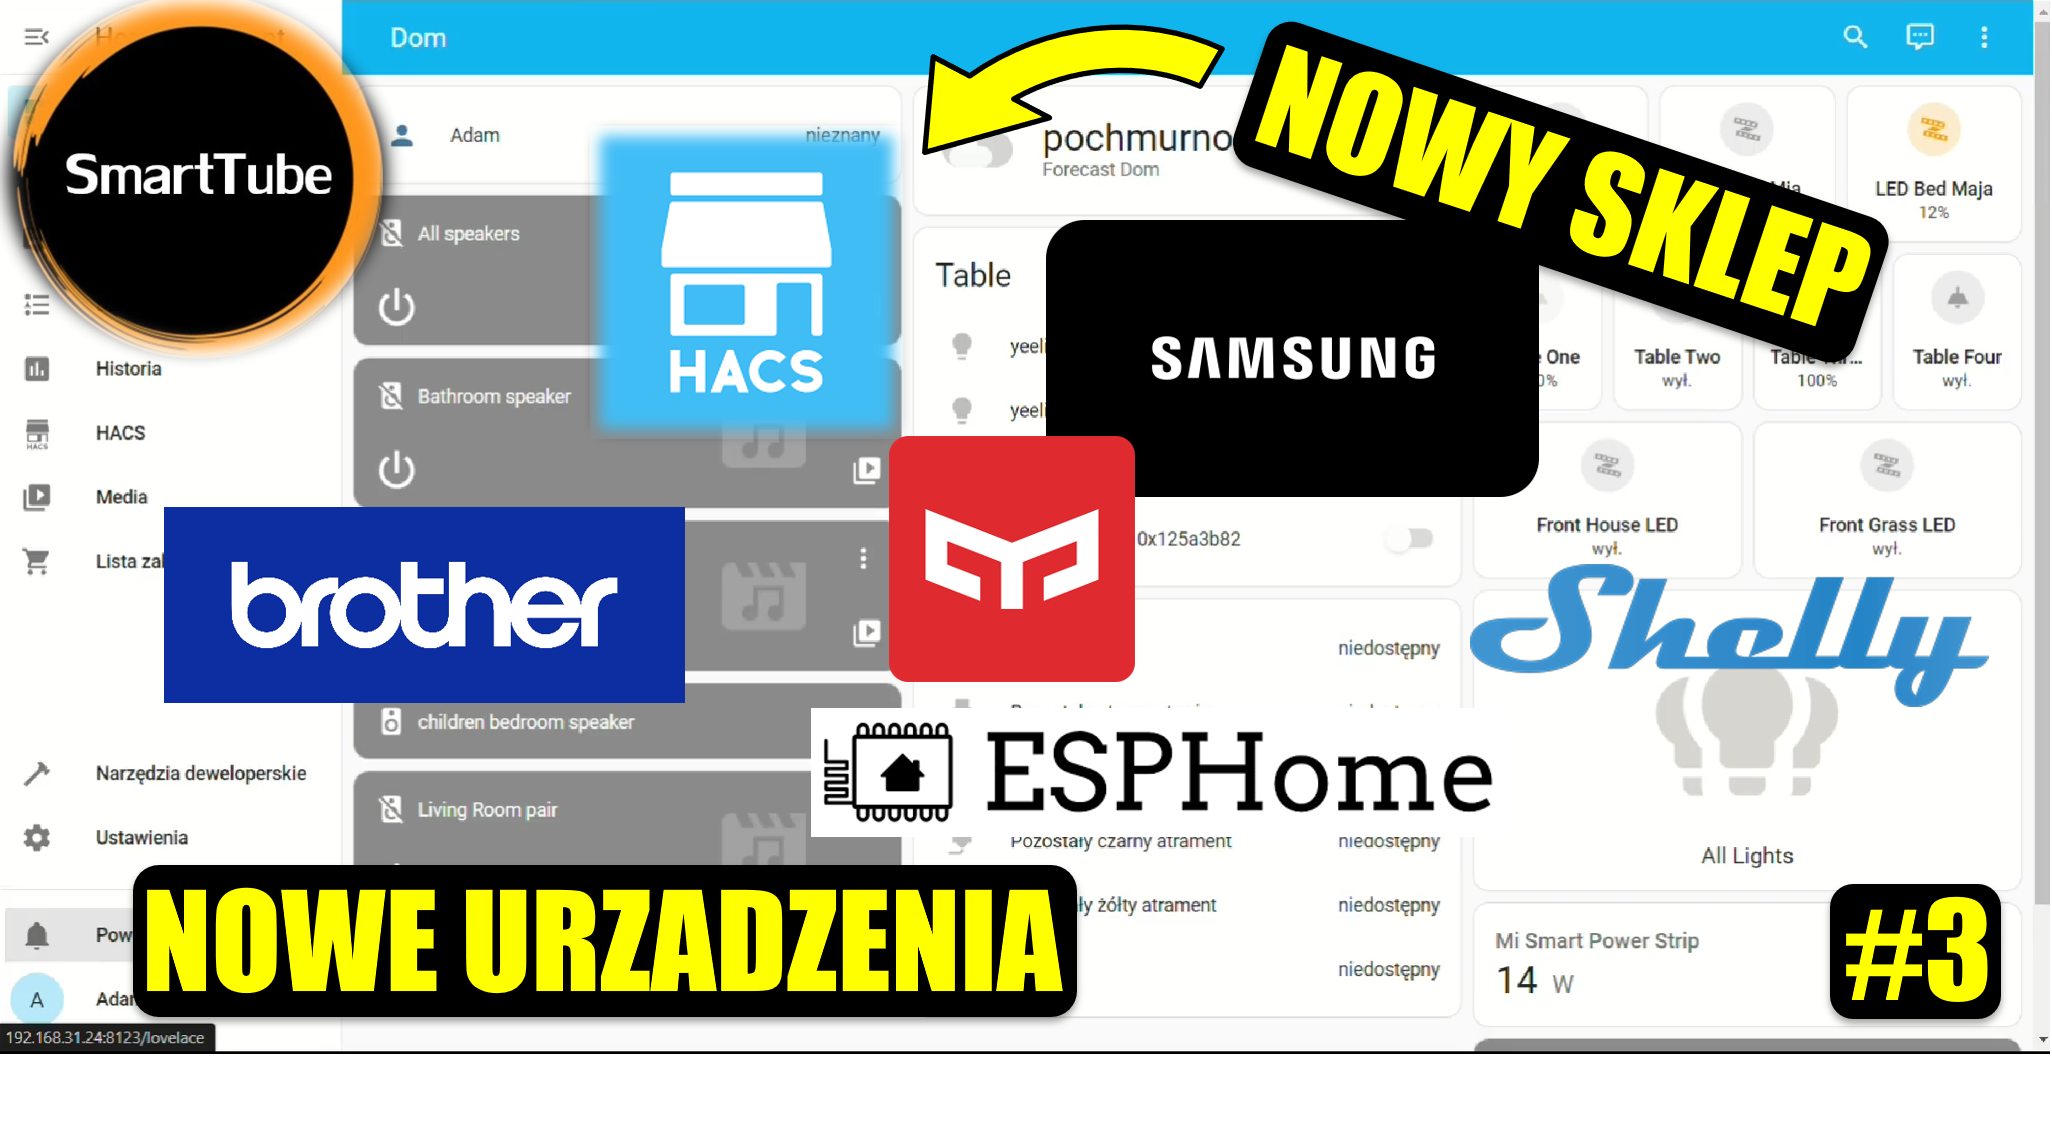
Installation of HACS, SSH, Shelly Samsung Brother ESPHome device. From Zero to Home Automation #3
Welcome to the From Zero to Automatic Home series. I will take you with me on the adventure of creating an automatic home from scratch based on Home Assistant. I will try to include in this series all the things I do with my new equipment. I’m doing everything again! There will be a lot of it…
In this episode we will upload all updates to HA, install the second Terminal & SSH and HACS add-on. We will add a lot of new devices from Shelly, Yeelight, Brother and Samsung, and one ESPHome that reads the water consumption in my house. Between the lines there are a lot of my comments and practical advice.
HACS upload code:
wget -O – https://get.hacs.xyz | bash –https://s.click.aliexpress.com/e/_DDDX90j
Video in text form:
In the third episode of the From Zero to an Automatic House series, we’re diving deeper into configuring your Home Assistant setup. This time, we’re tackling updates, adding new devices, and exploring essential tools that will elevate your smart home experience.
Step 1: Managing Updates
We begin by clearing notifications and tackling updates for Home Assistant. The system shows notifications about updates for various components and devices. After clearing these notifications, we proceed with installing updates one by one.
Updating LEDs often results in them turning on automatically, which we manage through the settings. The system eventually shows everything lit up, although some lights may have individual settings that turn them off automatically.
Step 2: Installing the Latest Updates
Next, we update the Home Assistant Core. Instead of creating backups, we opt for a quicker installation process, confident that everything will proceed smoothly. Updates are completed swiftly on the Raspberry Pi setup, ensuring a faster and cleaner installation experience.
We then move on to updating the Home Assistant operating system itself. After installing these updates, we have a clean system without any pending notifications.
Step 3: Adding New Devices
We introduce several new devices to the system:
- Brother Printer:
We add a Brother printer, configuring it in the Master Bedroom area. We integrate printing status, ink levels, and page counters. - Xiaomi Smart Power Strip
We integrate the Xiaomi Power Strip, which can be turned on and off remotely. This device allows us to monitor energy consumption and control power usage. - Samsung TV
Connecting the Samsung TV becomes a breeze. We configure it to control multimedia settings, ensuring it integrates seamlessly into our smart home setup. - Shelly Devices
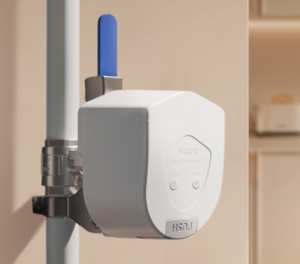
The Shelly integration adds various devices, including roller blinds and kitchen shutters. We strategically place these devices in appropriate areas of the house, such as the Garage, Kitchen, and Bathroom. Managing these Shelly devices locally and through the cloud ensures reliable operation.
Step 4: Secure Shell (SSH) Integration
We enable the SSH (Secure Shell) Add-on to access advanced configuration features. With SSH installed, we can run terminal commands directly from the browser interface, maintaining a smooth connection and ensuring everything remains up-to-date.
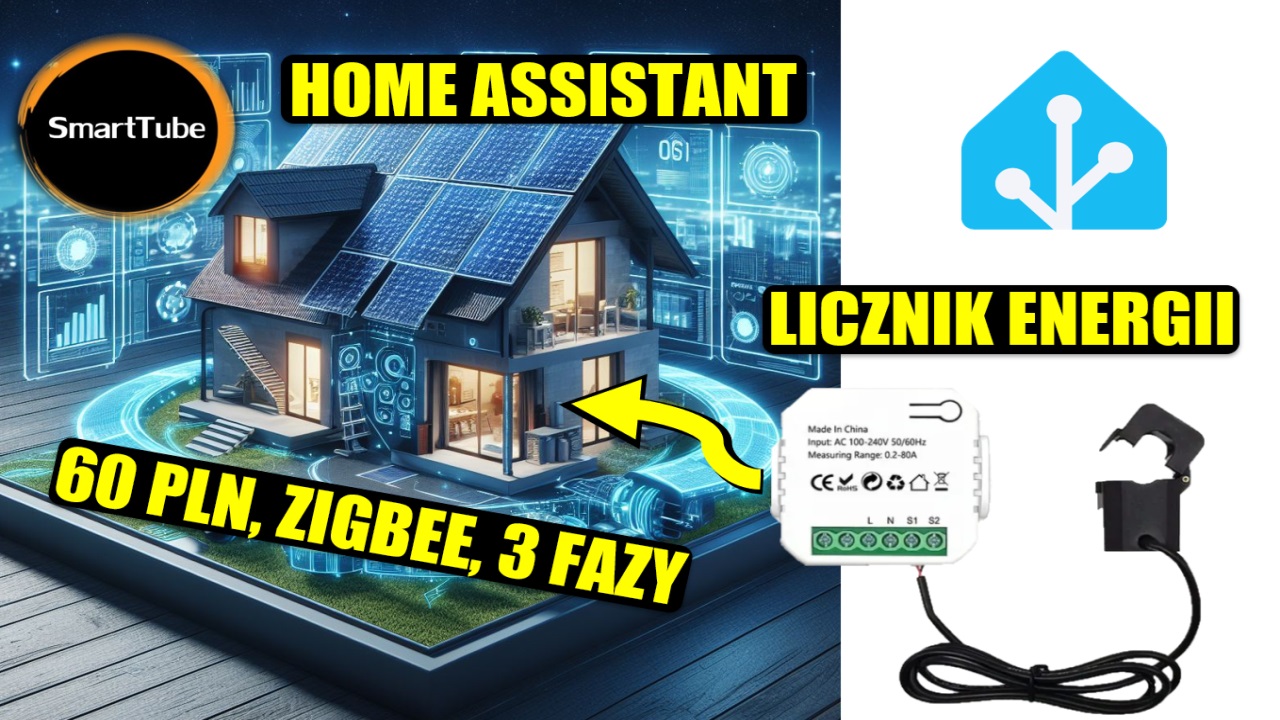
Step 5: Configuring Notifications and Other Devices
We configure notifications to account for devices like vacuum cleaners, Xiaomi lights, and water meters. For example, the Apator water meter reader connects seamlessly with Home Assistant, displaying real-time consumption data for cold water usage across the house and garden.
Step 6: Preparing for Future Integrations
We explore integration options for Google services, sorting through add-ons and popular integrations based on GitHub ratings. These integrations offer various functionalities, like media control, energy monitoring, and more advanced charts for data visualization.
Conclusion
In this episode, we successfully:
- Installed multiple updates for Home Assistant components.
- Integrated new devices, including a printer, TV, and Xiaomi power tools.
- Managed Shelly devices across multiple areas of the house.
- Configured advanced tools with SSH access.
- Added essential sensors and integrations to monitor water consumption and energy usage.
With everything connected and configured, the system is now more robust and ready for advanced smart home interactions. The updates and integrations lay the foundation for an even more automated and efficient home setup.
Looking forward to Episode 4, where we’ll explore more integrations, improve device interactions, and continue refining our smart home system into a fully automated paradise! 🌐🏠✨


Post Comment